
Microsoft Defender for Endpoint Deployment
Overview
HYAS Protect’s MDE integration enables agentless DNS protection by leveraging your existing Microsoft Defender for Endpoint deployment. This self-service method allows organizations to rapidly enable Protective DNS without additional endpoint installations. DNS traffic is automatically routed through HYAS Protect’s Anycast resolvers, providing visibility and enforcement both on- and off-network.
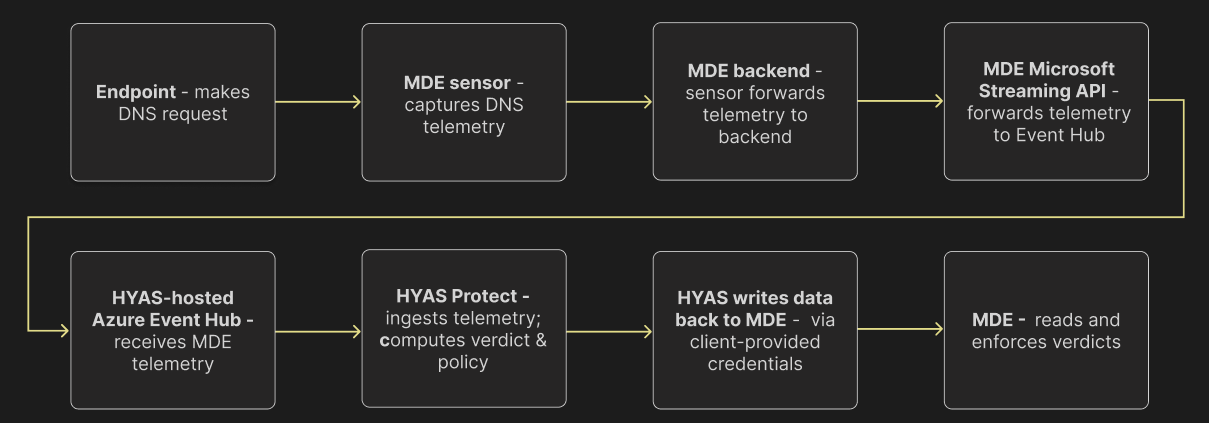
HYAS Protect ↔ Microsoft Defender for Endpoint: High-Level Integration Architecture
Prerequisites
Licensing
Microsoft
HYAS
Active HYAS Protect License.
Active Microsoft Defender for Endpoint installed on all target Windows devices
Admin access to your HYAS Protect account and MDE console
No conflicting DNS routing—HYAS Agent or manual DNS configurations should be disabled for MDE-targeted devices
Key Features, Benefits & Considerations
Features, Benefits | Considerations |
|---|---|
Seamless rollout with active MDE deployment | Requires Windows devices with active MDE coverage |
Self-Serve deployment | Less granular per-user policy control (no user groups) |
Works regardless of network location | Not available for macOS or non-Windows devices |
No HYAS Protect Agent installation needed | Split-horizon, Safe Search and Local DNS Resolution features unavailable |
Works regardless of network location |
Integration Architecture
Data Collection by MDE:
Once the integration is installed, MDE begins collecting data from various sources on your machines. This includes critical information from Device Network Events and Device Events within the Microsoft Security Center.
Data Streaming to HYAS Protect:
The collected data is streamed via an API to an Event Hub. HYAS Protect then retrieves this data for analysis. Specifically, it examines DNS queries to provide security verdicts.
Verdict Enforcement:
The exciting aspect of this integration is that HYAS Protect’s verdicts—whether based on Categories, rules, Lists, or the Decision Engine—are passed along to MDE for enforcement (assuming blocking is enabled). This ensures that all unsafe domains identified by HYAS Protect are blocked effectively.
Enabling Blocking (Optional):
The final step involves enabling the Blocking feature. While optional, this feature empowers MDE to act as the enforcement mechanism, blocking traffic to all domains deemed unsafe by HYAS Protect.
MDE Deployment
Step 1 - Provision an Azure Event-Hub
First, select the Region you’d like the Event-Hub to be hosted in.
We provide options in both the US and Europe.
Now, select a Partition Count. The default setting is 4 as this will be sufficient for most organizations. If you anticipate a large volume of DNS requests, you may increase this number to provide better performance.
Finally, enter the MDE Admin’s email and select ‘Provision’.
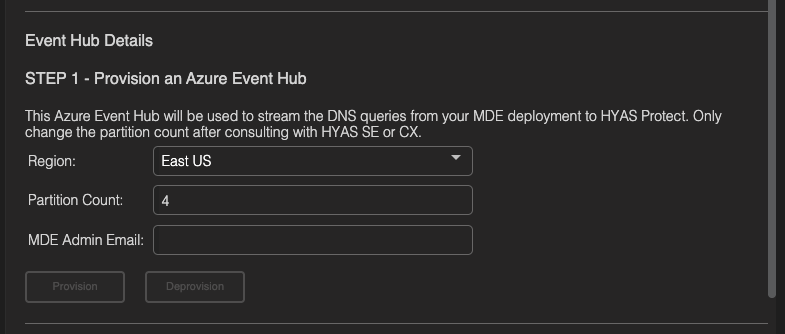
Once clicking on ‘Provision’, you receive one of two notifications letting you know if deployment was successful or not.


If you provisioning failed and errors persist, please contact HYAS Customer Support
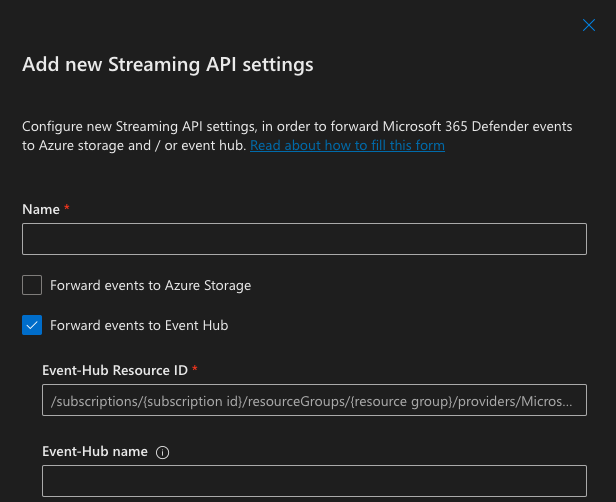
Step 2 - Update Microsoft Security Center
Now that you’ve created an Event-Hub, you must update your Microsoft Security Center to push data to that hub. This will be accomplished through the following steps:
Log into Security Center and navigate to ‘Settings’, ‘Microsoft Defender XDR’ and then ‘Streaming API’
Click ‘Add’
Name your Streaming API
Enable ‘Forward events to Event Hub’
Enter the ‘Event-Hub Resource ID’ and ‘Event-Hub name’
‘Event-Hub Resource ID’ and ‘Event-Hub name’ can be found under ‘STEP 2’ of the MDE self-service page in HYAS Protect as ‘Resource ID’ and ‘Event-Hub Name' respectively.
Under ‘Event Types’, expand the 'Devices' section and select: ‘DeviceNetworkEvents’ and ‘DeviceEvents’
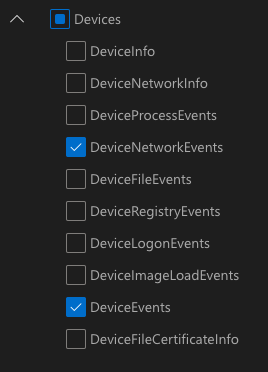
Click ‘Submit’, Defender for Endpoint will now save these incoming events in the Event-Hub.
Step 3 - Blocking Mode (OPTIONAL)
By default, the initial configuration of the MDE integration is set to Inspection Mode. This means that MDE will NOT enforce the blocks recommended by HYAS Protect. It is important that you confirm with your HYAS SE or CX team member before enabling Blocking aka Protection Mode. We HIGHLY recommend remaining in Inspection/Non-blocking mode until after you’d had a chance to review the blocks that would have been made via the UI. This will greatly reduce the possibility of false positives (although rare), negatively effecting your organization.
If you wish to continue enabling Blocking Mode, you must first configure such in your Azure Portal
Navigate to the Azure Portal and search for ‘Microsoft Entra ID’ in the search bar at the top of the page.

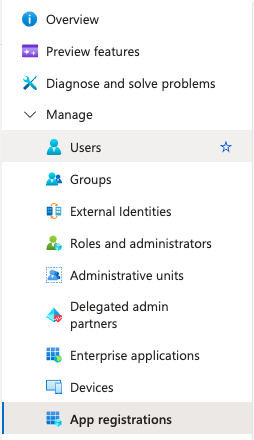
Once in the ‘Microsoft Entra ID’ section, expand the ‘Manage' menu and select 'App registrations’
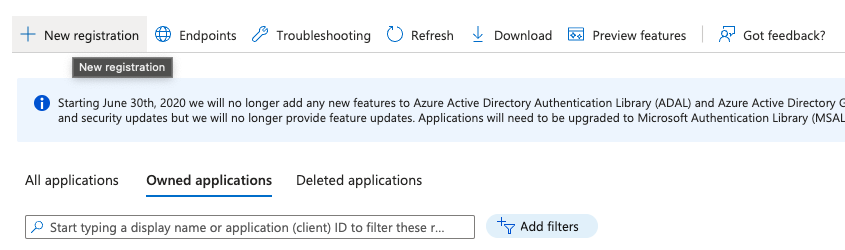
Click the ‘New registration’ button at the top of the page.
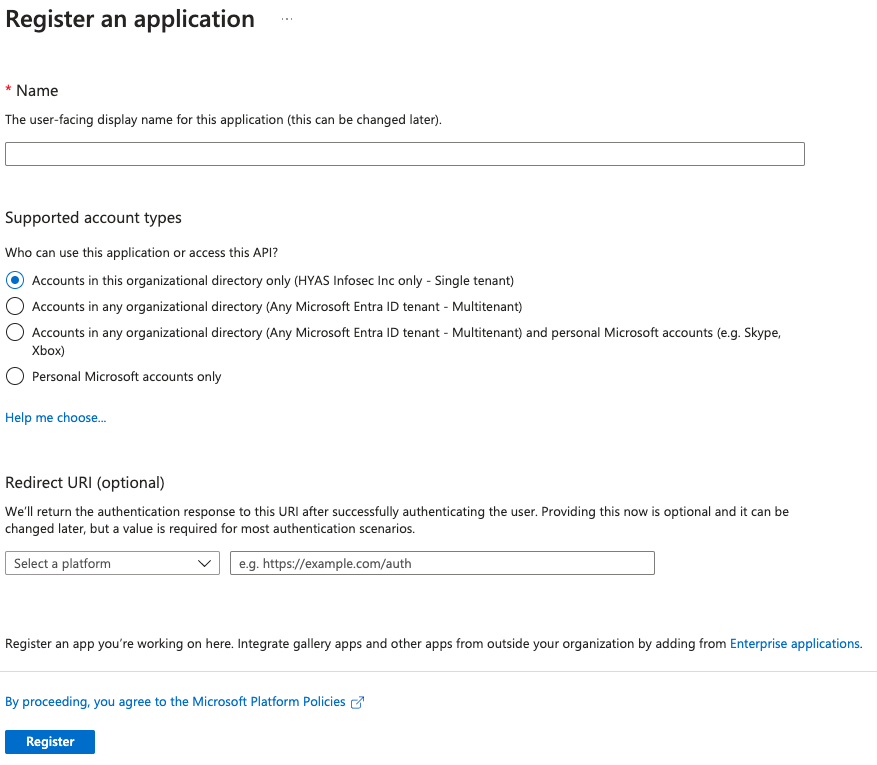
Name the application.
Select ‘Accounts in this organizational directory only (Your Tenant)’.
Click ‘Register’.
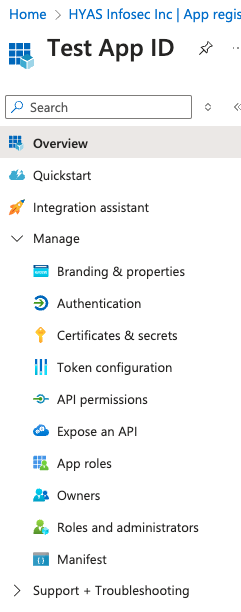
Now that you’re in the Application you just created, expand the ‘Manage’ menu and select ‘Certificates & secrets’.
Click the ‘New client secret’ button.

Specify the description and expiration (Recommendation set to 1 year).
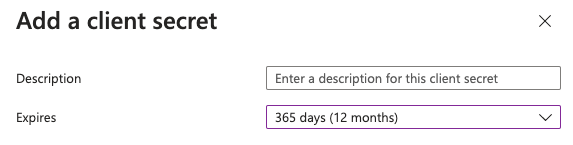
Click ‘Add’.
Copy the ‘Secret value’ to the side, this value will be entered into the HYAS Protect UI in a moment.
Select ‘API permissions’ from the left navigation pane.
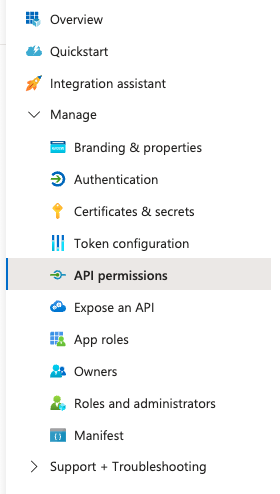
Click ‘Add a permission’
Select ‘APIs my organization uses’
Filter for ‘WindowsDefenderAPT’:
Select ‘Application Permissions’
Then select expand ‘Ti’
Select Required Permissions:
Ti.Read.AllTi.ReadWrite.AllTi.ReadWrite
Click 'Add permissions' to apply these permissions to your application.
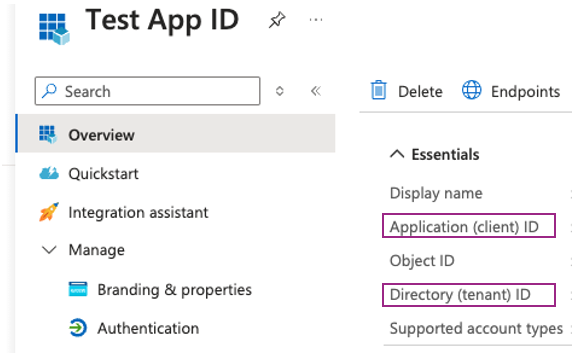
Head back to the Overview page to copy the ‘Application (client) ID’ and ‘Directory (tenant) ID’.
Navigate to the HYAS Protect UI, toggle ON “Blocking Enabled” from the MDE self-service page.
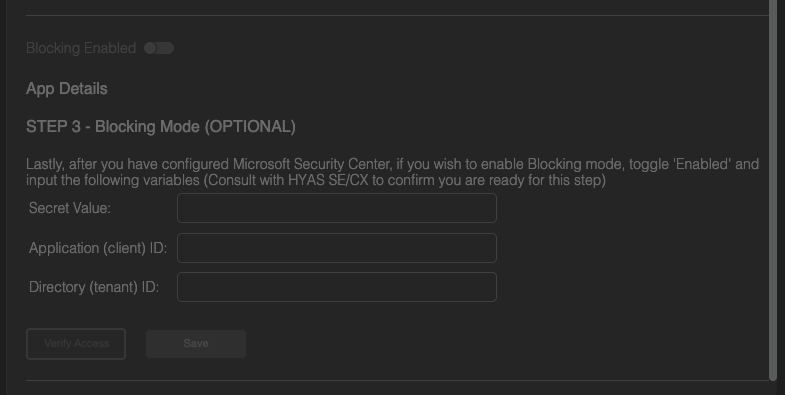
Next enter in the ‘Secret Value’, ‘Application (client) ID’ and ‘Directory (tenant) ID’ and click on ‘Verify Access’.
Once the verification is completed, you’ll receive a notification at the top of your screen indicating whether the verification was successful or encountered an error.
If successful, click on ‘Save’.
Give the system 5-10 minutes and blocking based on HYAS Protect’s recommendation will be enabled.
Enable the Integration
Finally, to enable the integration once everything has been configured properly, toggle the MDE integration to ‘Enabled’
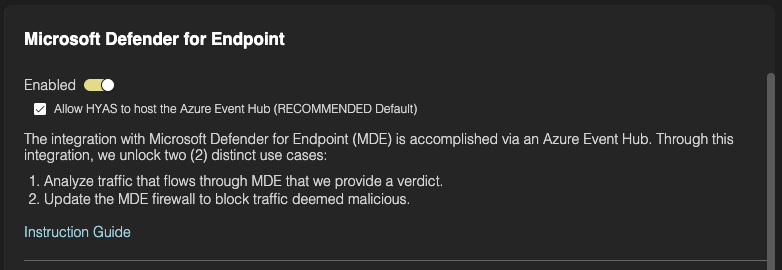
Make sure that ‘Allow HYAS to host the Azure Event-Hub (RECOMMENDED Default)’ box is checked.
This will initiate the provisioning of a HYAS-managed Event-Hub, enabling troubleshooting and other support activities in case any issues arise.
In the event you wish to host your own Event-Hub, uncheck this box and enter the information as listed above.
Agent Deployment Checklist & Verification
- Microsoft Defender for Endpoint is installed and healthy on all target Windows devices
- MDE is configured to forward logs to Azure Event Hub
- "Device Network Events" (and optionally "Device Events") are selected for export
- HYAS Protect MDE integration is enabled in the HYAS portal
- DNS traffic from MDE-covered devices is visible in HYAS Log View
- Malicious or test domains are successfully blocked by HYAS policy
- Devices are not simultaneously using another DNS method (e.g., HYAS Agent or Resolver) for the same coverage
- Event Hub is successfully forwarding logs to HYAS Protect (if applicable for your deployment)
Configuring Policies
Now that you’ve successfully deployed HYAS Protect, your environment is already safeguarded against malicious domains—including phishing sites, malware delivery networks, and command-and-control (C2) infrastructure (among others). These threats are blocked by default using HYAS’s infrastructure intelligence and real-time decision engine.
If you'd like to customize your protection further, you can configure additional policies—such as blocking unwanted content categories, managing allow/block lists, or tailoring behavior by source network or user group. [Learn how to configure policies →]