SentinelOne Deployment
Overview
The SentinelOne + HYAS Protect integration offers a powerful, deployment path that enables DNS-layer threat protection using your existing SentinelOne footprint and Agent. By leveraging SentinelOne’s Cloud Funnel, HYAS Protect gains visibility into DNS activity across all managed endpoints—both on-network and remote—without needing to install a separate agent.
This integration not only allows HYAS Protect to detect and report on suspicious DNS activity, but optionally block malicious domains by dynamically updating SentinelOne’s Network Control firewall rules. It’s a fast and seamless way to roll out Protective DNS across your organization using infrastructure already in place.
If you're looking for rapid deployment with minimal friction, this option is a great fit—especially for environments that already rely on SentinelOne for endpoint security.
Prerequisites
SentinelOne is deployed on all target endpoints (Windows/macOS)
Cloud Funnel is licensed and enabled in your SentinelOne environment
You have access to the SentinelOne console and HYAS Protect portal
SentinelOne Role/Access Requirements
Optional, if blocking, API Token created from a service user with:
Account level scope access: Account
Please make sure your account level scope access is set as ‘Account’ and not ‘Site’. If set incorrectly, you’ll receive an API key issue error.
Minimum Built-in RBAC Role: Standard built-in RBAC role not recommended
Custom Role Requirements: Firewall -> Manage Rules and Tags=Allowed
Key Features, Benefits & Considerations
Features, Benefits | Considerations |
|---|---|
Does not require installation of the HYAS Protect Agent | Requires SentinelOne Cloud Funnel license and configuration |
Leverages existing SentinelOne deployment for fast rollout | Blocks occur at the IP level – may cause over-blocking in CDN or shared-host environments |
Works across both on-network and off-network device | No user or device-level attribution in HYAS Protect |
No per-user or group-based policy enforcement | |
No Local DNS, Split-Horizon or Safe Search capabilities | |
SentinelOne Deployment and Configuration Overview
By integrating HYAS Protect and SentinelOne, it’s easy to deploy HYAS Protect rapidly and easily throughout an organization. It enables all the HYAS Protect protection and blocking access to malicious domains. There are 2 parts to the integration:
Reading all DNS query logs to gain visibility into DNS traffic (required for integration)
Blocking access to malicious domains (optional)
When HYAS Protect identifies an FQDN for blocking, it adds it to SentinelOne's Network Control Sentinel as a firewall rule. Although the rule lists the FQDN, SentinelOne blocks based on the IP address the FQDN resolves to. Consequently, other FQDNs and domains may also get blocked if they share the same IP as the one listed in the firewall rule.
Deployment
S3 Bucket Creation
Create an S3 Bucket on AWS for storing logs using SentinelOne’s recommended settings
Instructions Here
Please be sure to give HYAS both ‘list’ & ‘get’ access for the integration to work.
Enabling Cloud Funnel Streaming
On SentinelOne enable Cloud Funnel streaming
Instructions Here
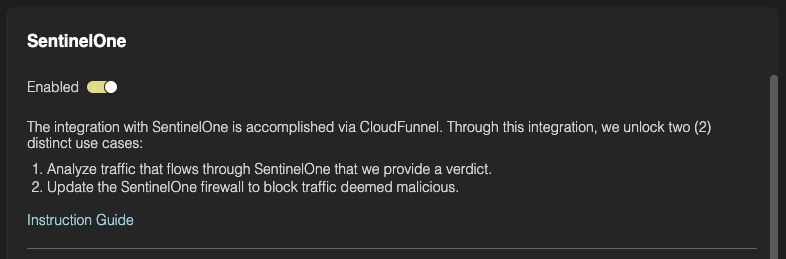
Configure Integration in HYAS Protect
In HYAS Protect go to Configuration -> SentinelOne
Set the integration to “Enabled”
Configure the details of the AWS S3 bucket as configured in step 1
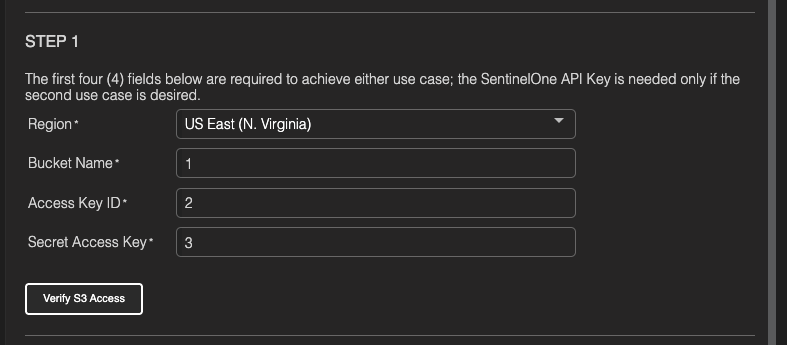
Click “Verify Access” to ensure everything is working correctly.
Enable Blocking - Optional
Only required if blocking of malicious domains is desired
Obtain your SentinelOne Account ID
In SentinelOne, navigate to Sentinels>Account Info. Your account ID will be in the on the left side of the page under your account name.
Obtain SentinelOne API Token
In SentinelOne create a new role with only the the following permissions
Firewall -> Manage Rules and Tags = Allowed
Instructions on creating a new role Here
Create a Service User and assign the aforementioned role.
Choose the Access Level Global or Account
Make note of the API token generated as it is needed to complete the configuration and cannot be retrieved later (only reset)
Instructions on creating a Service user Here
Enter the SentinelOne Account ID, API Key and Tenant URL as configured in previous steps.
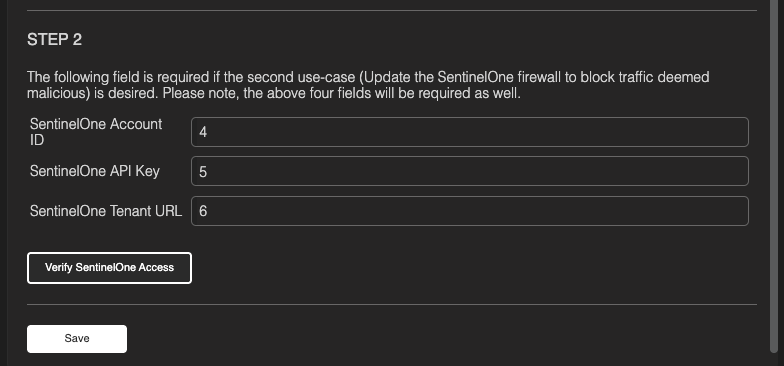
Click 'Verify SentinelOne Access’
Click 'Save'
Blocking is now configured.
SentinelOne Deployment Checklist & Verification
- SentinelOne integration is enabled in the HYAS Protect portal
- S3 access verified
- DNS queries from SentinelOne-managed devices appear in Log View
Configuring Policies
Now that you’ve successfully deployed HYAS Protect, your environment is already safeguarded against malicious domains—including phishing sites, malware delivery networks, and command-and-control (C2) infrastructure (among others). These threats are blocked by default using HYAS’s infrastructure intelligence and real-time decision engine.
If you'd like to customize your protection further, you can configure additional policies—such as blocking unwanted content categories, managing allow/block lists, or tailoring behavior by source network or user group. [Learn how to configure policies →]