
User Settings & Permissions
Account Management
HYAS Protect offers a “Tiered Account Model” with three different permission types:
Partner
Partner (Highest level): Represents the top-level account with the most permissions, designed for resellers and distributors, it allows clients to create create and manage MSSP’s.
MSSP
MSSP (Middle level): Represents Managed Security Service Providers who manage multiple organizations under them. They have permissions to oversee and configure accounts for their client organizations.
Organizations
Organization (Lowest level): Represents individual client accounts or end-user organizations, with permissions limited to managing their own settings and users.
Managing MSSPs and Organizations
Users with Partner-level permissions can manage MSSPs and Organizations associated with their account. Users with MSSP-level permissions can manage Organizations within their account. Regardless of the level you wish to manage, the process remains largely the same. The screenshots below note Organizations but the same will apply to MSSPs.
Creating MSSPs & Organizations
First, navigate to Manage Users under the Settings Menu
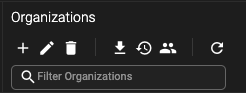
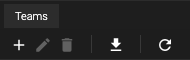
Navigate either to the MSSP or Organizations section depending on type you’d like to create. Then click the '+'
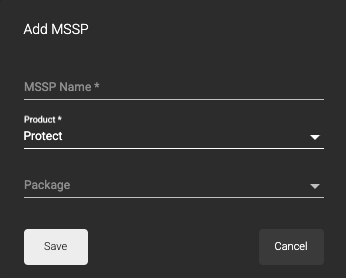
From here, you can begin creating a new MSSP or Organization:
MSSP:
Organization:
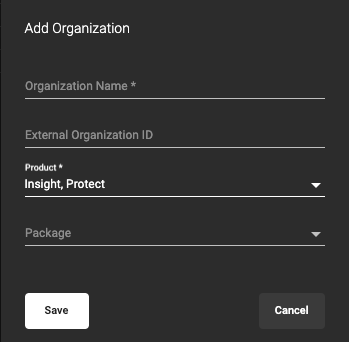
Fill in the information as required. Then hit, ‘Save’.
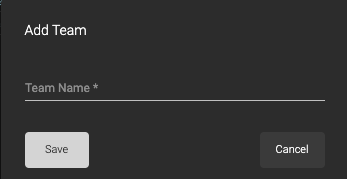
If creating an Organization, you’ll want to next create a team a “Team” or multiple “Teams” for which to assign users to the new organization. You can create a single team or multiple teams to separate users by department, permissions, etc.
Finally, now that your team(s) is/are created, you may begin creating users for your new Organization by following the procedure listed above under Managing User Accounts.
Editing MSSPs & Organizations
Once you’ve created an MSSP or Organization, you may edit it by selecting the Pen icon under the respective list.

From here you can edit the:
Name
External Organization ID (Organizations only)
Product
Package
Deleting MSSPs & Organizations
To delete an MSSP or Organization, simply select it and then click on the Trash Can icon.

Export MSSPs & Organization Data to CSV
Click on the Export MSSP or Organization Data to CSV icon to download a list of all of your MSSP or Organizations

Download will include:
MSSPs
MSSP Name
Organizations
Org Name
Applicable Packages
Team Count
Created By
Last Updated
Has Organization API Key (True/False)
Is Organization API Key Active (True/False)
Export Usage Data to CSV
Organizations only
Select the Export Usage Date to CSV to download Client usage data.

You will have the choice to download one or more of the following reports for either all dates or specific date ranges.
Organization
First used, Last Used, Total UI Count, Total API Count, External ID across the entire organization.
Team
Team, First used, Last Used, Total UI Count, Total API Count, External ID on a Team basis.
User
Team, User Email, First used, Last Used, Total UI Count, Total API Count, External ID across the entire organization.
User Details
Team, User Email, Account Creation Date, Last Used.
Open MSSP Users
Allows you to view the MSSP users.

Export List of Active Users
Organizations only
Selecting the Export List of Active Users will download a CSV of all users including their email and Organization.

Refresh MSSPs & Organizations
Click on the Refresh icon to refresh the list of MSSPs & Organizations.

Viewing MSSPs & Organizations
As a Partner or MSSP/MSP Admin using HYAS Protect, you possess complete administrative privileges over all your clients. This encompasses user management, rule set creation, monitoring client traffic, and all other features available within HYAS Protect.
To view your Client’s traffic, make rules etc, simply navigate to the HYAS Protect overview page by selecting the HYAS icon at the top left of the page. From there, look for Organization next to HYAS Protect.

Click on the Organization to open a menu of all your Clients to select from.
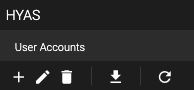
Managing User Accounts
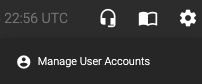
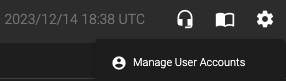
To add, remove or change user permissions, navigate to the Settings Icon (gear) and select, “Manage User Accounts”
Creating Users
Under User Accounts, select the +. From there, add the user(s) email(s) in the space provided.
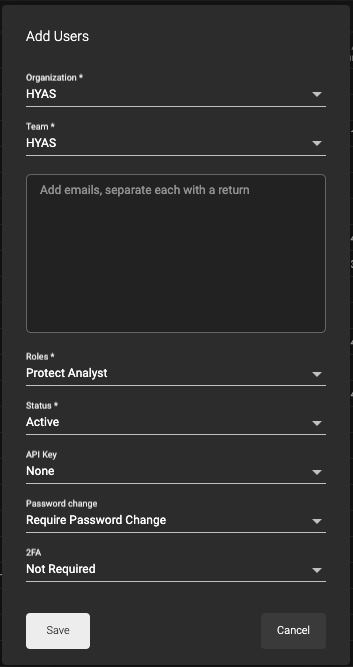
Select the User Role you would like the individual to have.
Next, select Status as Active.
If the user needs an API key, select “Generate Key” from the API Key drop down. The user will be emailed an API key with their Welcome Email.
Leave “Require Password Change” as is.
HYAS highly recommends changing 2FA to, “Enable OTP 2FA” for the security of your account.
Click Save and you’re all set! Users will receive an email with further login instructions.
Deleting Users
Navigate to the Settings Icon (gear) and select, “Manage User Accounts”.
From the list of user accounts, select the box next to the user you wish to delete. Then click on the trash can.
Disabling Users
If you wish to disable a user instead of deleting them you may do that from the Edit Users section.
Just has above, navigate to the Settings Icon (gear) and select, “Manage User Accounts”.
Select the box next to the user you wish to disable then click on the pencil icon.
From the Edit Users window, look for the “Status” section. Select the dropdown box and change the status from Active to disabled.
Assigning User Permissions
If you wish to change a user’s permissions, you may do so in the Edit Users window. Follow the steps from the section above to navigate to the Edit Users window and select the user you wish to edit.
Click on the pencil icon.
Under the “Roles” section you can select the dropdown menu and choose a new role. HYAS Protect User Roles and Permissions.
Interactive Training
Visit our Click-Through Training page for an interactive HYAS Protect Overview and other useful training.